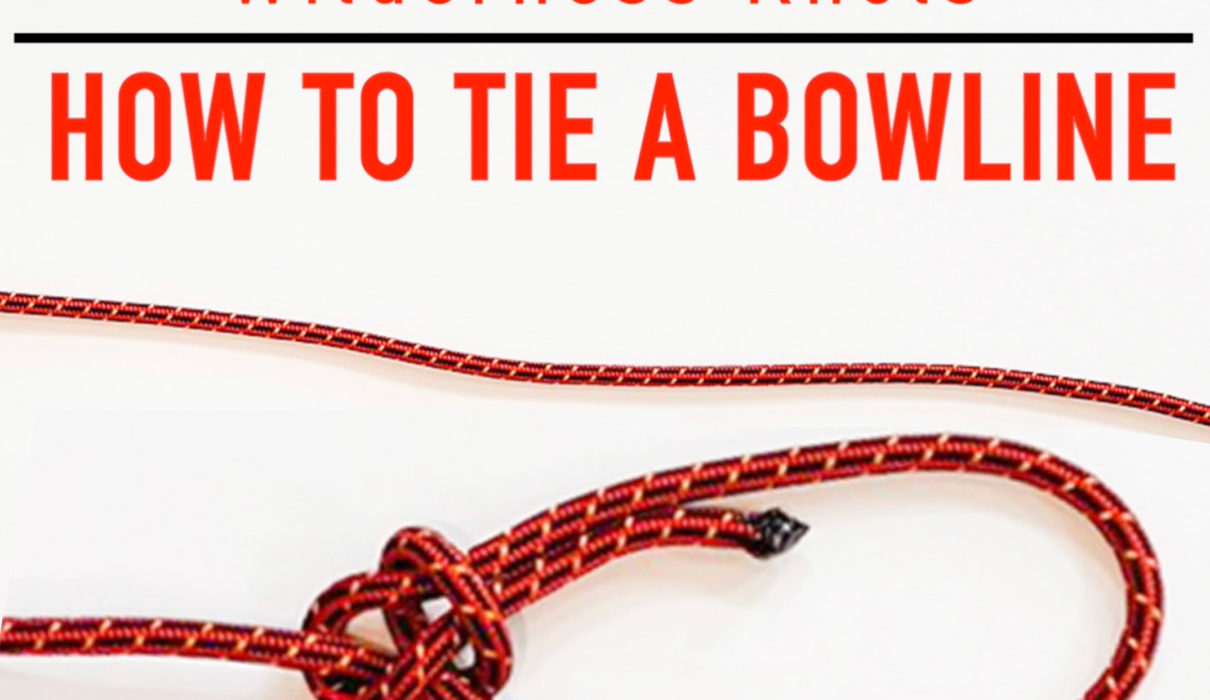

The bowline is one of the most essential knots for camping, canoeing, kayaking, and living in the wilderness.
I think the ‘rabbit and tree’ method is the simplest way to learn this knot, and this method consists of 4 steps…
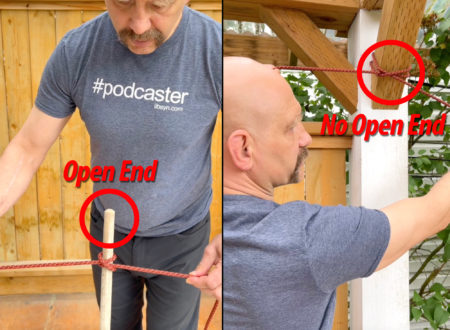
- Make a loop a foot or two near the end of the rope to form the RABBITHOLE
- The rabbit comes UP through the hole
- The rabbit goes AROUND the tree
- The rabbit goes back DOWN through the hole.
Then you tighten up the knot to make it pretty and – VOILA! – you’ve got a bowline.
Here’s a quick video breakdown of the rabbit and tree method (plus two additional variations you may also find useful) that I put onto my Essential Wilderness Youtube Channel. Check it out…
A huge advantage of the bowline is that you can always get it undone. No matter how much pressure has been put onto the rope or how tight the bowline became you can always work the rope so that the knot comes undone.
Two disadvantages of the bowline include the fact that it can come undone if you’re using very slippery synthetic rope in wet or icy conditions, and also that the knot bends the rope fairly sharply which reduces its strength. This is why climbers and mountaineers who have to deal with shock loads on small ropes have mostly moved away from the bowline and towards the figure of eight family of knots.
I love the bowline though, and it’s my go-to knot 95% when I need a loop at the end of a rope.
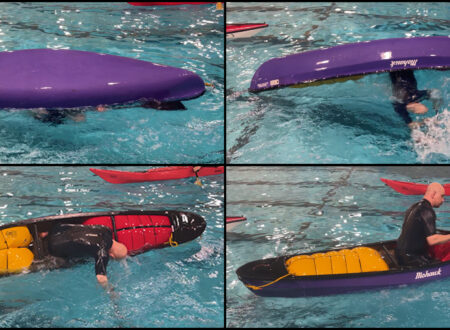
For example, I’ve used two bowlines to attach ropes onto my canoe to track up the Reindeer River in northern Saskatchewan as part of a long solo trip.
It’s a classic knot, and you need to learn how to tie it!
CHECK OUT MY NEW BOOK, PERSEVERANCE, LIFE AND DEATH IN THE SUBARCTIC!
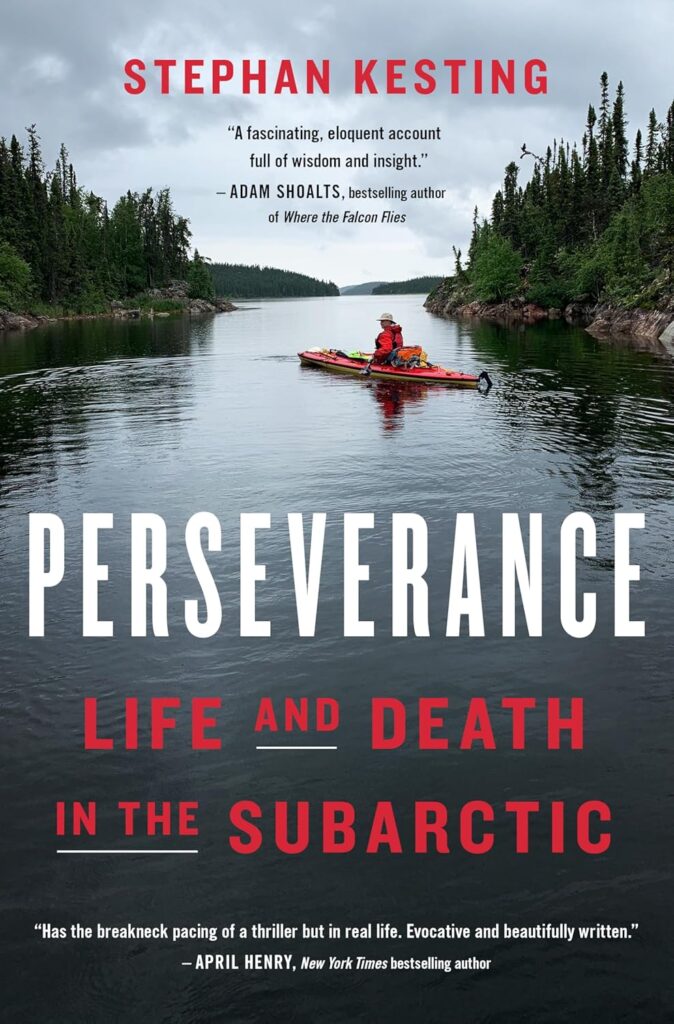
Perseverance, Life and Death in the Subarctic, is the story of my 42-day solo expedition across the Canadian Subarctic after coming back from the brink of death. On this trip, I encountered bears, storms, forest fires, and raging rapids, and had to find new ways to unlock new levels of endurance and tenacity.
I’ve been told it’s a great adventure story, has lots of useful tips and tricks for the outdoors, and is an inspiring read as well. I’d be honoured if you check it out at the bookstore of your choice or at the links below…